This is a recipe that has been years in the making, with many ebbs and flows to it's nature. I originally learned how to make karaage from a book by the renowned television (and restaurant) chef Morimoto in his aptly named book "Japanese Home Cooking." This was a pretty simple recipe, and likely how most people make it. Over the years I've added my own twists to it, with influence from the restaurants I've worked at, and the tastes that I've gathered with the times. I am an astoundingly lazy person and do not often find the time or willpower to do the overnight marinade and instead opt for a more powerful marinade that works in a shorter time. Sometimes I'll prep it on my lunchbreak in order to eat at dinner time. I like to accompany this dish with a cabbage salad, occasionally rice, and some sort of dipping sauce or flavorful Chinese/Japanese BBQ spice mix.
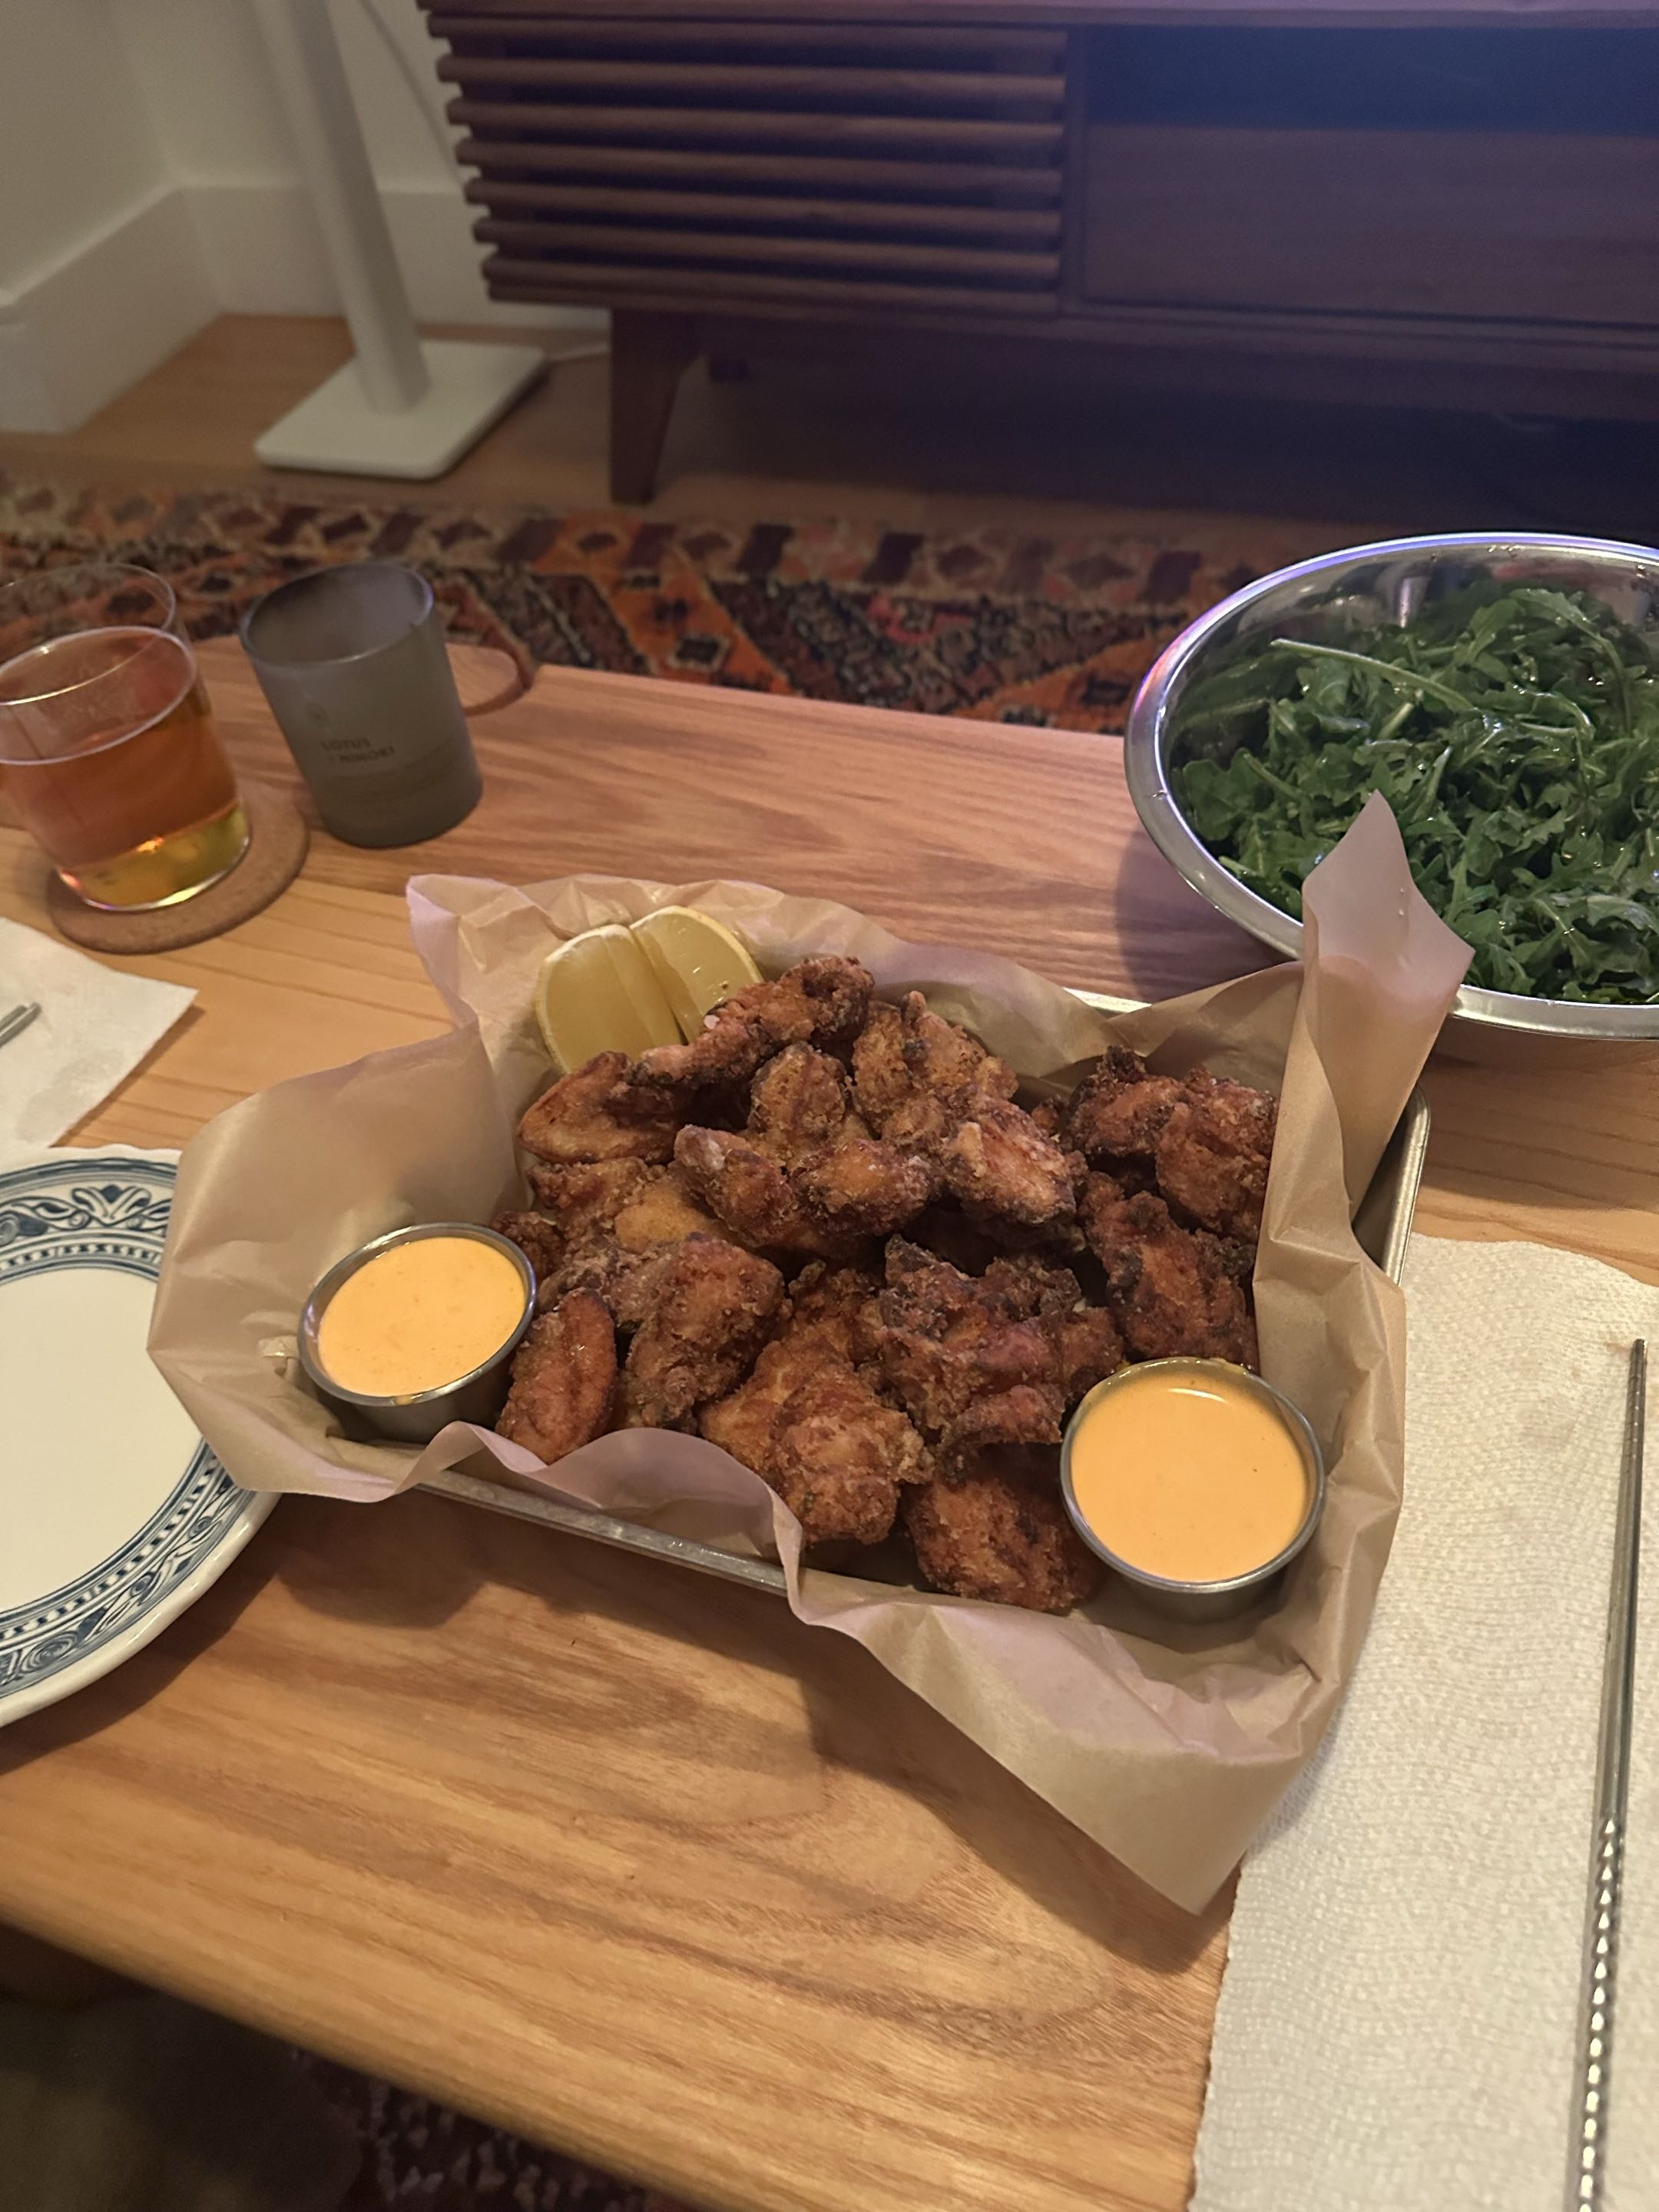
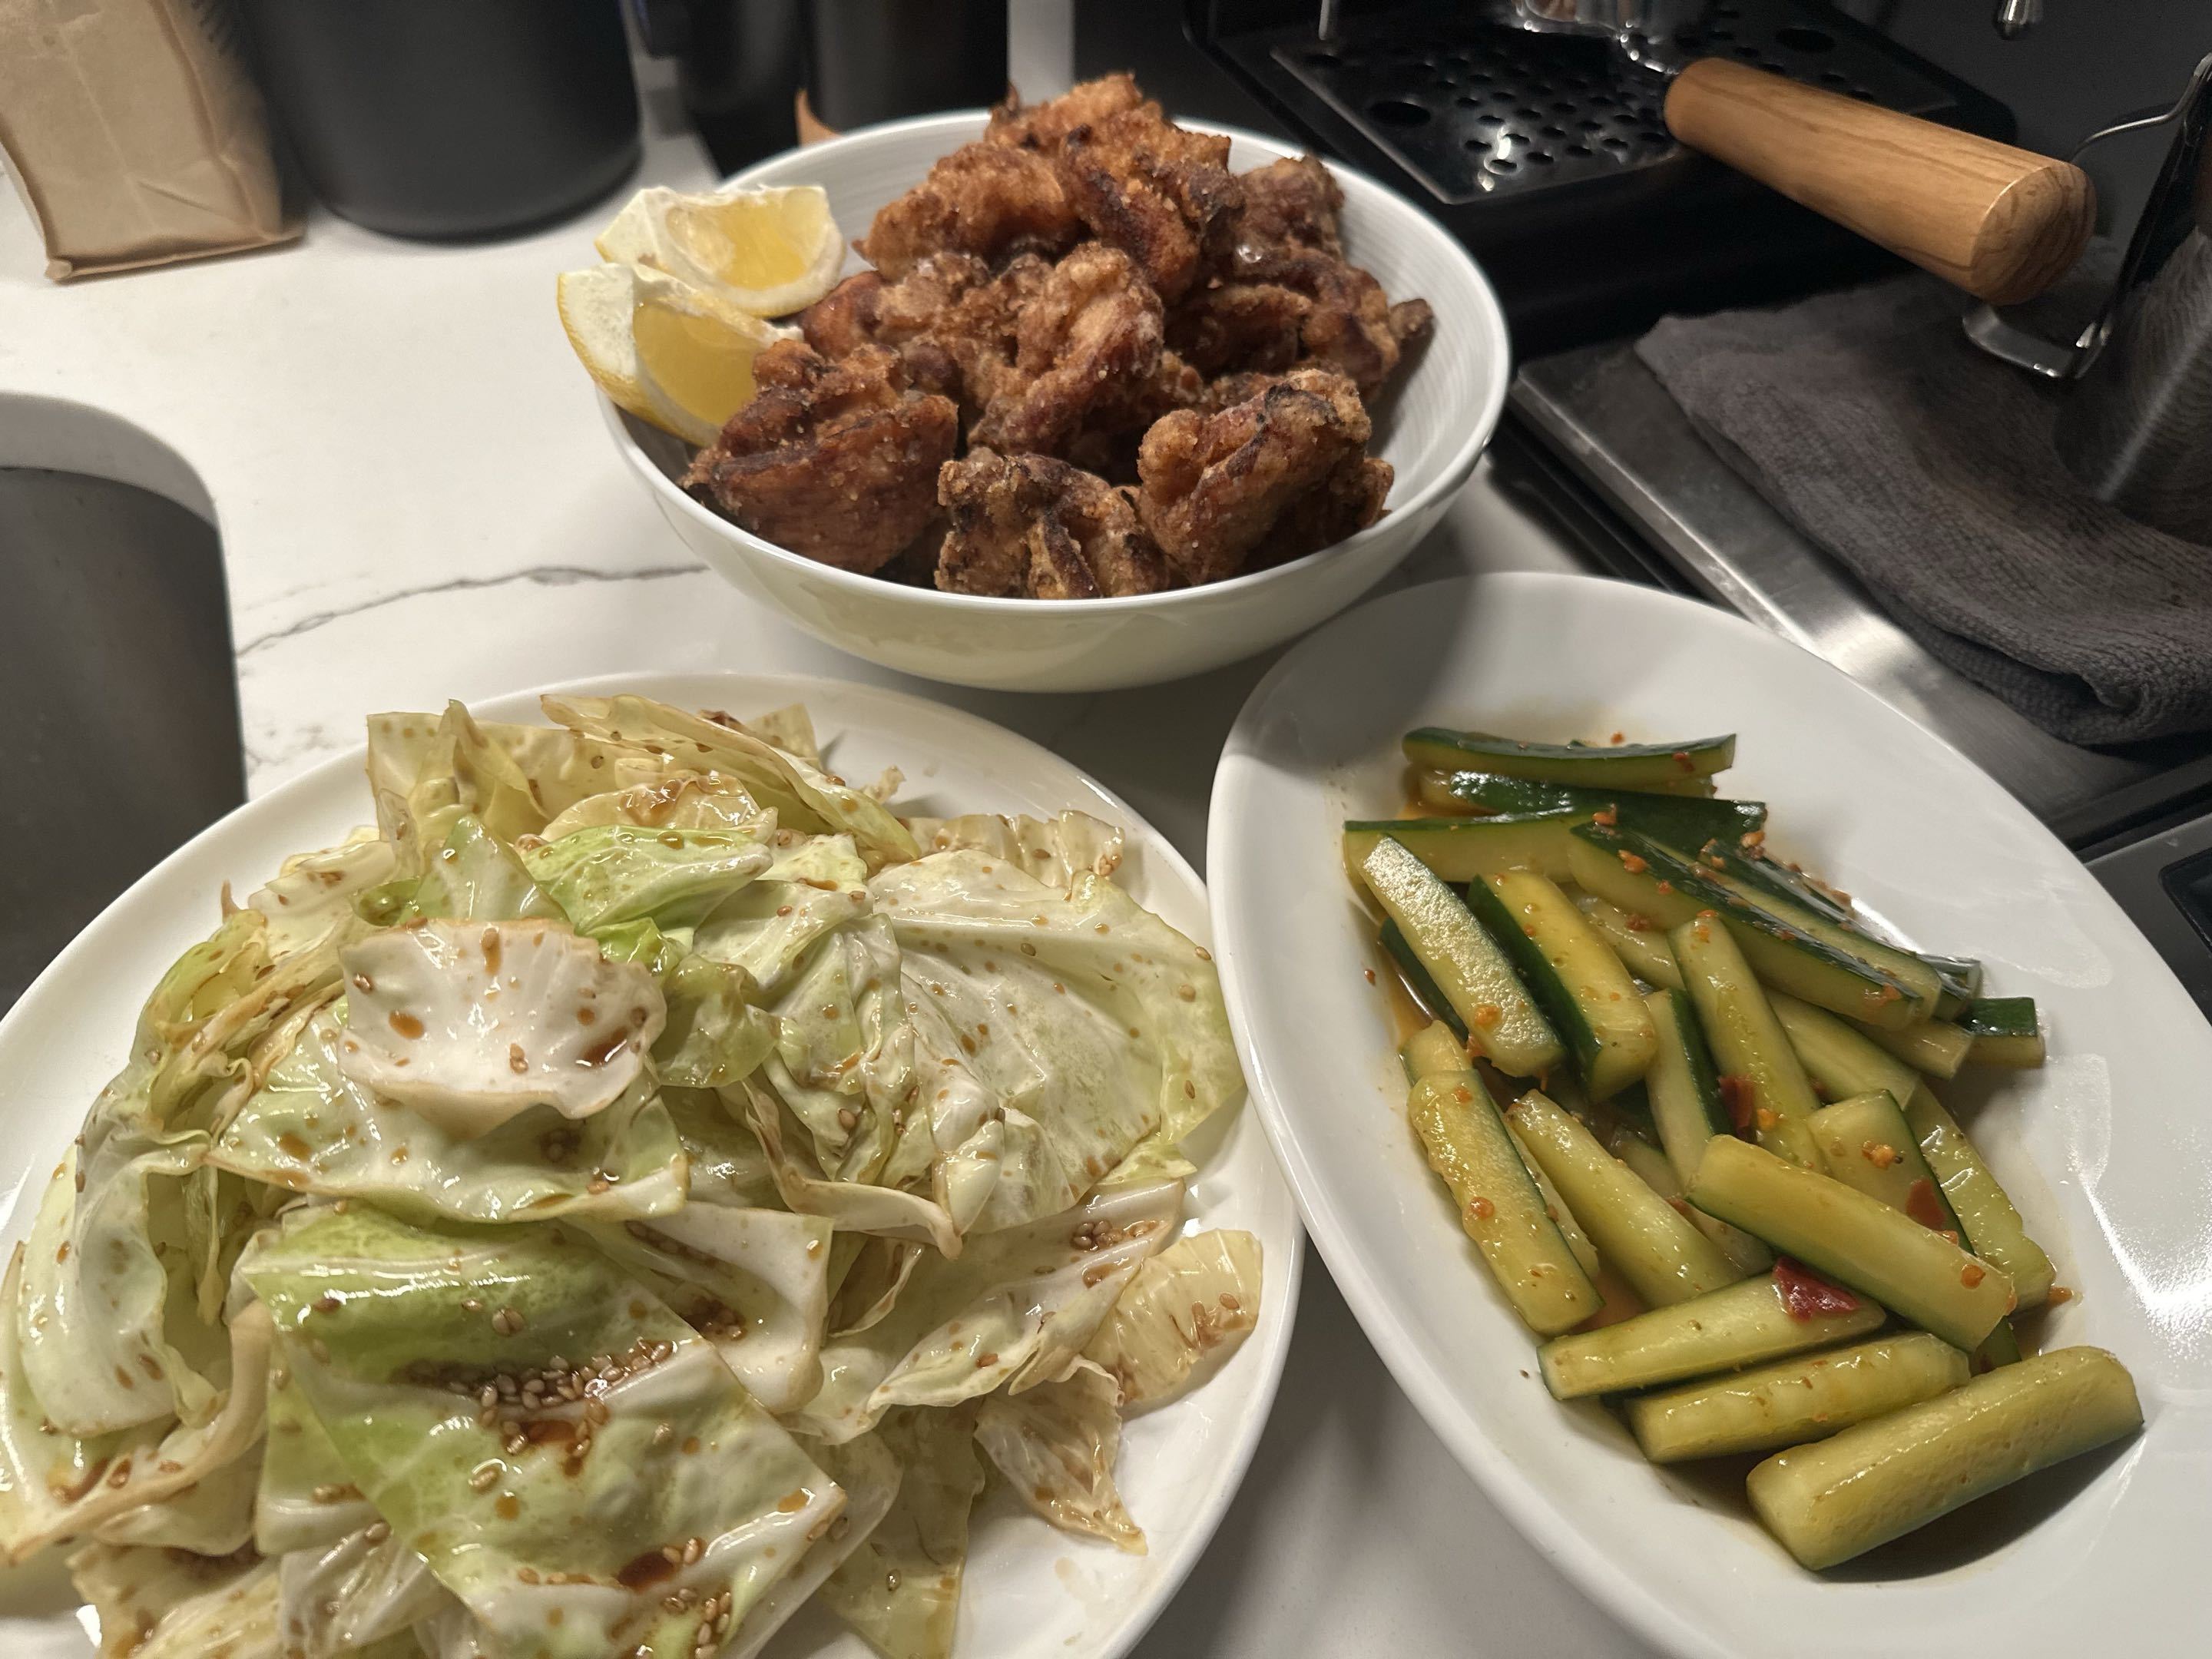
PLEASE NOTE THIS RECIPE IS A WORK IN PROGRESS
Ingredients
Marinade
- 1lb chicken thighs, boneless skinless, or boneless skin on cut into 1 inch chunks
- 1/4 cup soy sauce
- 1/4 cup mirin
- 2 Tbsp sake
- 1 Tbsp sugar
- 1 tsp MSG
- 1 Tbsp fish sauce
- 3 cloves garlic, crushed and roughly chopped
- 1 inch ginger, chopped
- 3 Tbsp potato starch
- 1 Tsp Lemon zest
Frying
- Potato starch, around 1 cup to start
- 3 cups to 1 quart of neutral oil
Directions
- Combine all marinade ingredients together in a vessel large enough to fit all of the chicken pieces. I use a big plastic container with a lid.
- Add the chicken pieces, stirring to make sure all ingredients are combined and contacting the chicken.
- Let chicken marinate for at least 2 hours, up to 10-12. If more, the flavors may become too imposing.
- In a large bowl, add potato starch.
- Add half of the chicken to the bowl, trying to let some marinade drip off, but not too much. The marinade is essential to the texture of the coating. Toss the chicken loosely, and then add the other half of the chicken.
- Toss the rest of the chicken keeping it all in the same bowl, and make sure all of the chicken is coated. Due to the marinade, it will end up with some clumps and crispy bits. This is good for the texture. Let the chicken rest with the starch for at least 10 minutes.
- Heat the oil to 375, and lay out a wire rack lined baking sheet ready to catch the chicken once fried
- Working in batches based on the size of your frying vessel, add the chicken to the oil and break up any clumps of chicken that form.
- Fry the chicken for about 5-7 minutes until it's crispy and golden. In my dutch oven I usually fry in two batches. Depending on the size of the chicken, the color will typically be the best indicator. You will want to make sure you're not overcrowding or letting the oil temperature drop too much.
- Once cooked and golden, remove chicken to the wire rack, and serve once all batches are complete
Notes
- Smaller cuts on the chicken is not always better. I've changed a lot over the years in terms of how large I like to cut it, but for now I stick to a nice 1 inch size. This gives some good heft to each piece and let's you taste good chicken if you have it. If you're working with less than desirable pieces, maybe cut them smaller so the marinade is more potent.
- Getting the proper feel for the texture of the chicken when tossing is a bit hard. I like for the chicken to have some clumps to create crispy bits, and I find it nice when some other parts are coated quite thinly as it creates a heterogenous eating experience.